Joomla is one of the most popular CMS, frequently used by webmasters and professionals managing several types of websites. You can install Joomla in a few simple steps.
With Keliweb Joomla optimized hosting solution you can complete Joomla installation process in the fastest way ever, using Softaculous.
You have to:
- Buy Joomla hosting service
- Log-in to your cPanel control panel
- In the "Software" section, click on "Softaculous"
- Click on the Joomla icon
- Click on "Install"
- Type the address where to receive your access data to complete the operation.
Otherwise if you prefer to install Joomla manually, download the latest version of Joomla from the official website www.joomla.com. As the download is completed, unzip the folder on your laptop and create a brand new folder named after the CMS and the Joomla version you're now using.
You can upload Joomla files in your web hosting space, using an FTP client (FileZilla), which will allow you to manage your hosting files as a regular local file system, and select the root folder where to upload the files, to make your website work correctly.
The procedure may change if you own a hosting where a single website is hosted or a multidomain hosting, on which multiple websites are hosted on the same root.
In case of a hosting with a single website, you can access to your web space's file system on the following folder /httpdocs or /www or /public_html.
You will have to:
- Select all the files contained inside Joomla folder from Mozilla FTP (in local)
- Select your hosting's root (remotely)
- Click on the selection
- Click on "Upload"
- Select Joomla files (in local)
- Upload all files in /httpdocs clicking on "Upload", after selecting all files in local
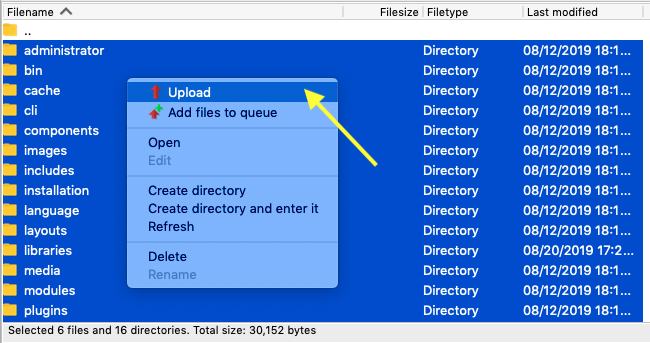
In case of multidomain hosting, access to your website's file system in /httpdocs/websitename or /WWW/websitename or /public_html/websitename folder (configurations may change according to hosting type).
You will have to:
- Select all the contents from Joomla from Mozilla FTP
- Select your hosting root
- Click on the selection and then on "Upload"
Now, you need to create a MySQL Database. Log-in to your cPanel control panel and create a database, clicking on the dedicated icon. Type the database name, a username and a password which have to be different from the ones you will use to access to your admin area. By the end of the operation, you will get a summary including database name, admin username, admin password and host address (usually localhost).
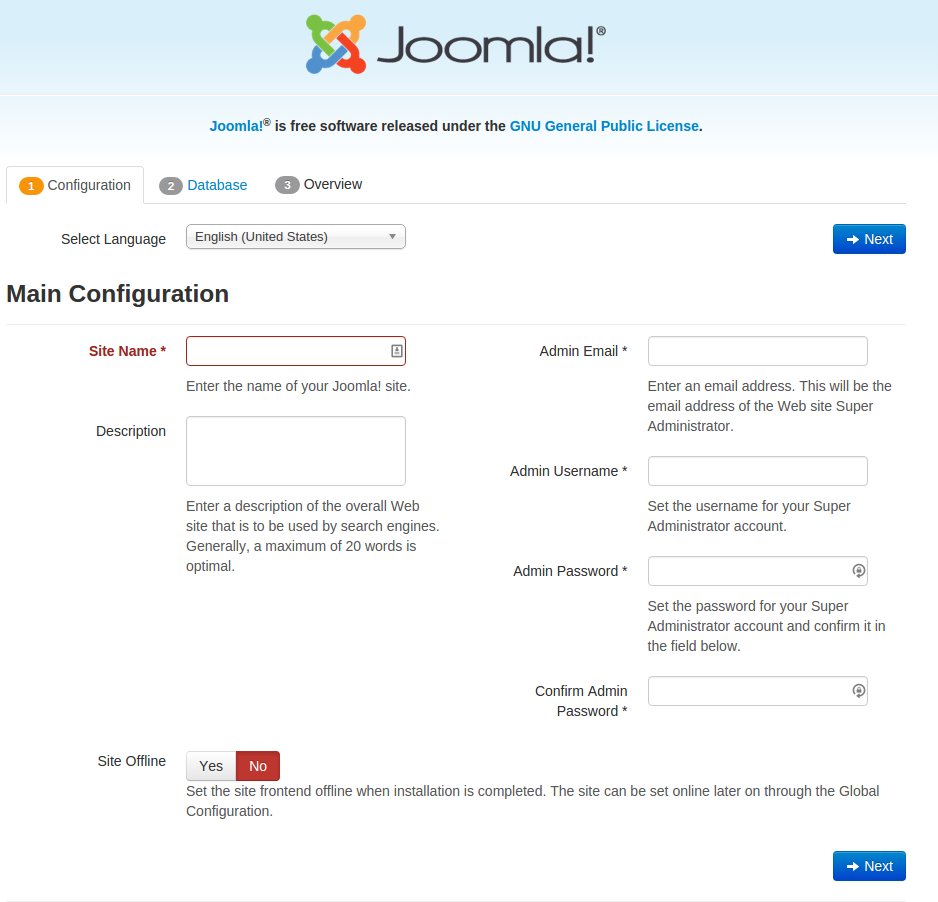
In Joomla installation page, type all the data you've just generated (database name, username, password, host address), database prefix and several informations related to the new website, created using this CMS:
- Website title
- Admin username
- Website private password
- E-mail address
- Privacy, to be reachable on search engines
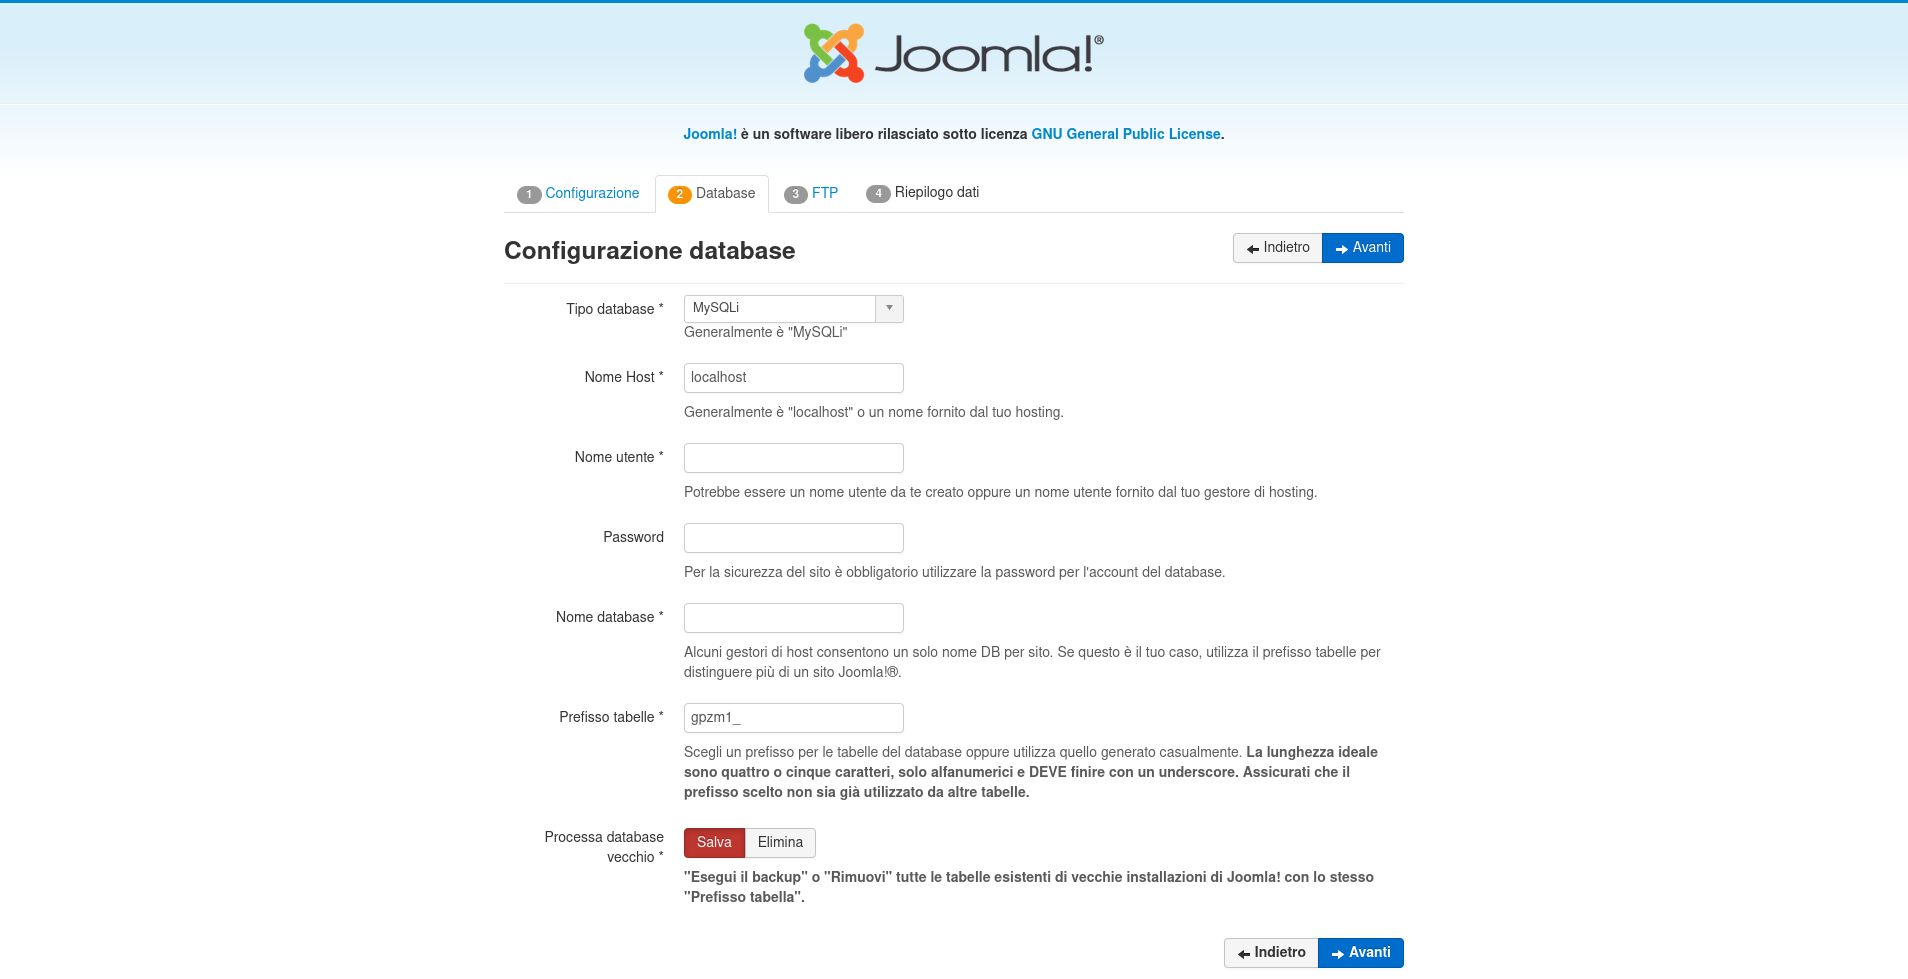
Then type all the data related to your database: database name, username, password, host address and database prefix and click on "Next".
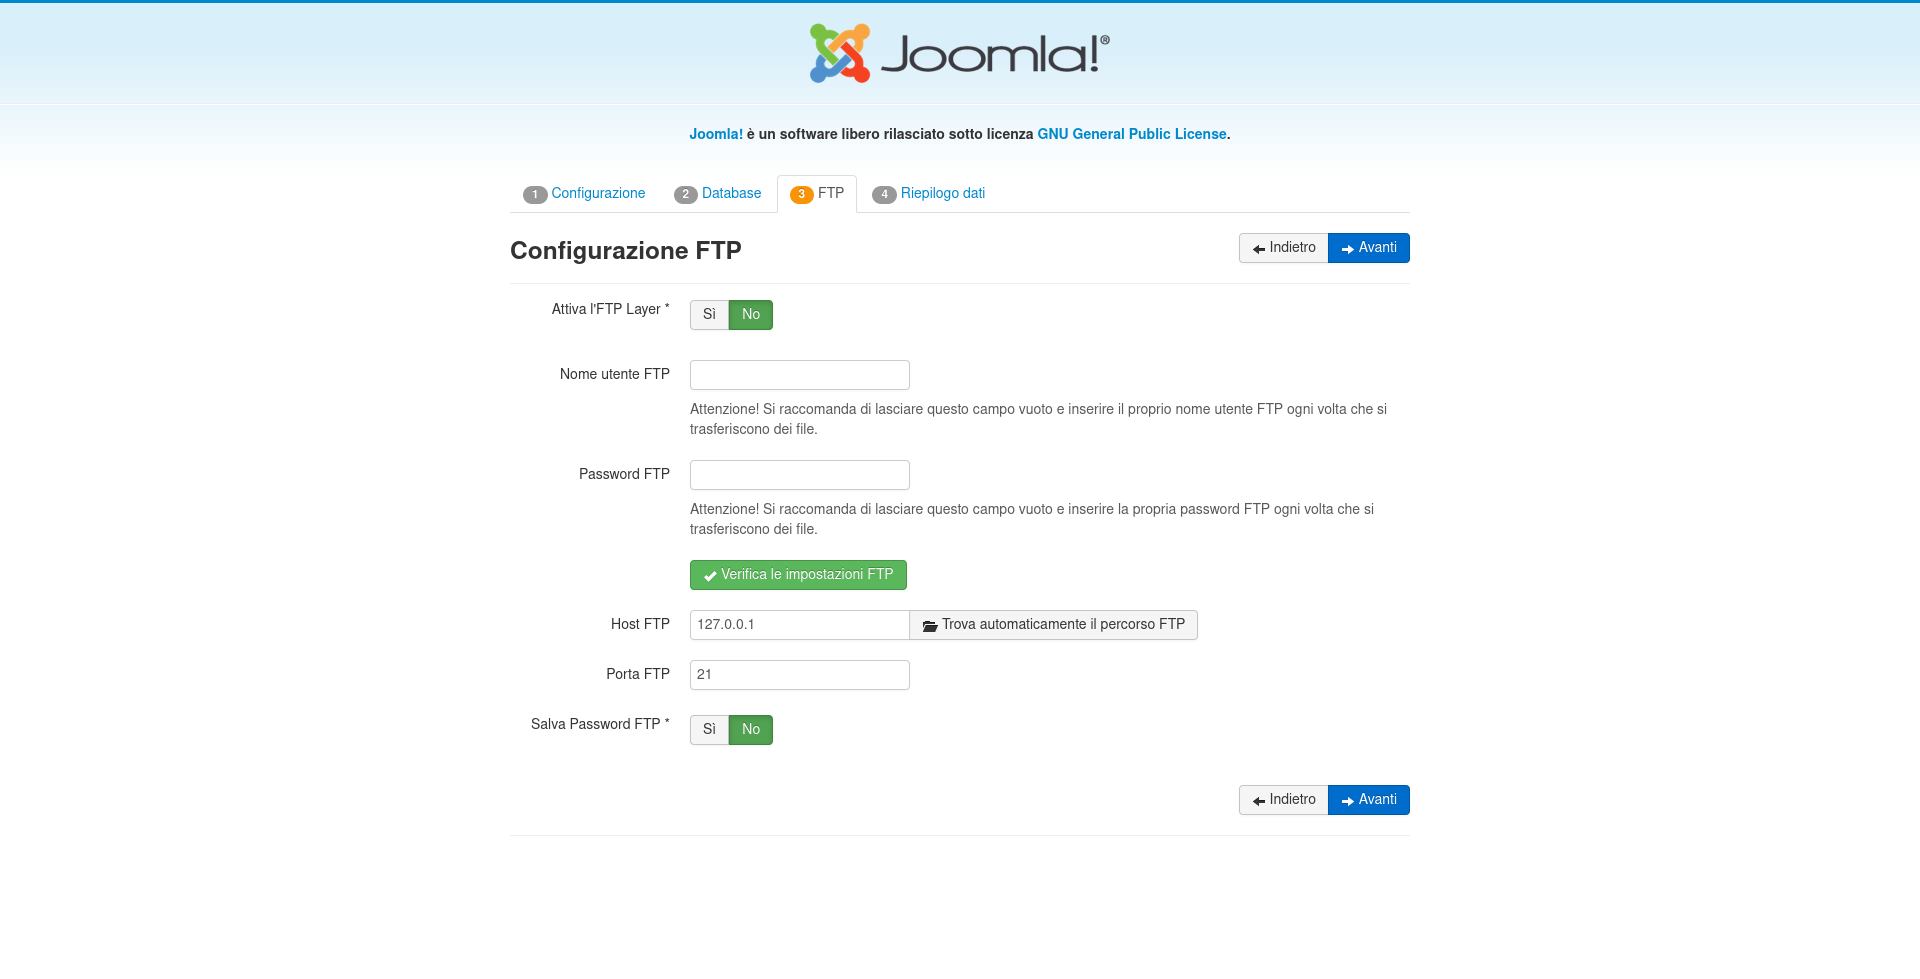
In the FTP section type all the required data.
In the final Recap page click on "Install " to end the operation.
